A Trustworthy PCB and Electronic Manufacturing Enterprise! Contact Us


Choosing the right circuit board soldering iron is one of the most consequential decisions you'll make across electronics assembly, PCB prototyping, repair work, and PCBA manufacturing. A stable, reliable soldering tool doesn't just determine the quality of an individual joint — it has a lasting effect on the overall performance and service life of the finished product. Among the many tools on an engineer's, hobbyist's, or repair technician's bench, this is one of the most central, whether you're building a DIY project, reworking a PCB, or supporting professional product development.
As electronics keep trending toward miniaturization and higher integration, components on a PCB have gotten correspondingly finer — from standard through-hole components down to high-density micro SMD parts — pushing modern soldering work toward tighter temperature control, faster thermal response, and stricter ESD-safety requirements. Understanding how to choose and properly use a PCB soldering iron is foundational to getting consistently good joints.
What Is a Circuit Board Soldering Iron?
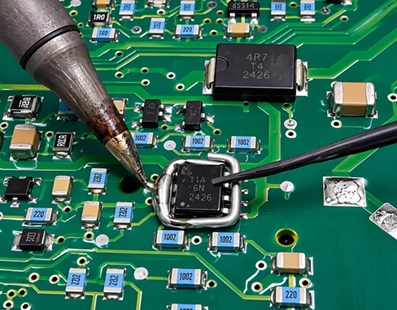
A circuit board soldering iron is a precision tool built specifically for electronic circuit soldering — it heats a tip to melt solder and form a stable electrical and mechanical bond between a PCB pad and a component lead. It's fundamentally different from the general-purpose soldering irons used for household electrical repair or heavy metal joining. A tool built for precision electronics work is defined by:
1. High-precision temperature control
2. Fast heat-up time
3. Strong, stable thermal recovery
4. Full ESD-safe protection
5. A wide range of compatible tip shapes
Professional circuit board soldering irons show up across PCB repair, PCBA assembly, product development, prototyping, SMT rework, DIP through-hole soldering, and small-batch production.
Core Components of a Quality Soldering System
1. An ergonomic handle. Good units use lightweight, insulated, anti-static handle materials. Since soldering sessions often run for hours at a stretch, a comfortable handle reduces hand fatigue and lowers the risk of static discharge damaging sensitive components — particularly important on boards carrying high-value parts like MCUs, sensors, or RF modules.
2. An efficient heating element. Most modern units use a ceramic heating core, which transfers heat to the tip quickly and evenly. Compared to older heating methods, ceramic elements heat up faster, hold temperature more consistently, last longer, and use power more efficiently — all of which make them well suited to dense, precision PCB soldering work.
3. A precise, intelligent temperature control system. Temperature control is one of the most important performance metrics for any circuit board soldering iron. Different jobs call for different ranges: low-temperature soldering typically runs 250–320°C, standard PCB soldering runs 320–380°C, and lead-free soldering usually needs 350–420°C. Too low a temperature, and solder won't fully melt or spread — leading to weak, unreliable cold solder joints. Too high, and you risk blistering or lifting the copper pads and traces, thermal damage to semiconductor components, or overcooked, ineffective flux. Getting temperature right is central to solder joint quality.
4. Interchangeable tips for different jobs. Different soldering tasks call for different tip geometries: conical tips for precision SMD work and fine joints, knife tips for drag soldering across multiple IC leads, hoof tips for continuous soldering and surface-mount work, and chisel tips for standard through-hole components and larger pads. Picking the right tip meaningfully improves both speed and joint quality.
Circuit Board Soldering Iron vs. General-Purpose Soldering Iron
A common misconception among beginners is that "any iron that melts solder will work on a PCB." In reality, the gap between a general-purpose iron and a proper PCB soldering iron is significant. General-purpose irons are built for rough metal joining or heavy-gauge wire repair; a circuit board soldering iron is purpose-built for precision electronics.
The key differences: Temperature control — general-purpose irons usually run at a fixed temperature, while a professional unit lets you dial in exactly what the job needs. Thermal recovery — tip temperature drops on contact with a pad, and a high-performance iron recovers quickly enough to keep a production run consistent. Safety — professional units typically include ESD protection, reducing the risk of chip damage. Scope of use — general-purpose irons suit basic repair work, while circuit board soldering irons are built for PCB design validation, PCBA production, and electronics manufacturing.
How to Solder a PCB With a Circuit Board Soldering Iron
Following the right process improves reliability and reduces the risk of board damage.
Step 1 — Clean the pads. Make sure PCB pads and component leads are free of dust, oxidation, and oil before you start — all three interfere with solder flow and joint quality. Flux can help improve wetting where needed.
Step 2 — Pre-tin the tip. After powering on the iron, apply a small amount of solder to the tip. This improves heat transfer, reduces tip oxidation, and extends tip life.
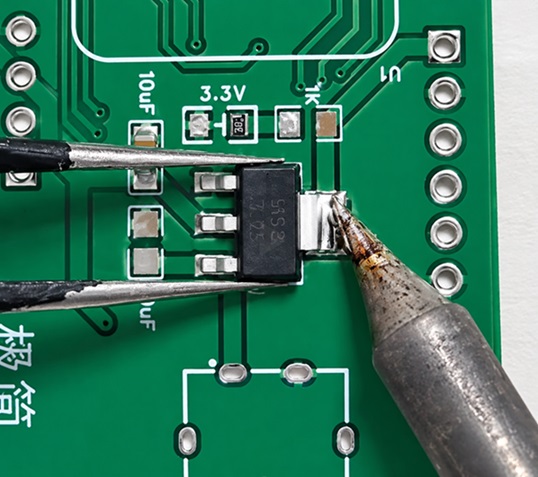
Step 3 — Heat the pad and lead together. Touch the tip to both the pad and the lead simultaneously until both reach soldering temperature — typically around 1–2 seconds.
Step 4 — Feed solder. Apply solder wire to the opposite side of the joint, not directly onto the tip. Stop feeding once the solder has spread evenly and wetted the pad.
Step 5 — Remove and let cool naturally. Pull the solder wire away first, then the iron. Never blow on a fresh joint to cool it faster — rapid cooling can leave a rough surface, unstable grain structure, or a cold joint.
Maintaining Your Soldering Iron
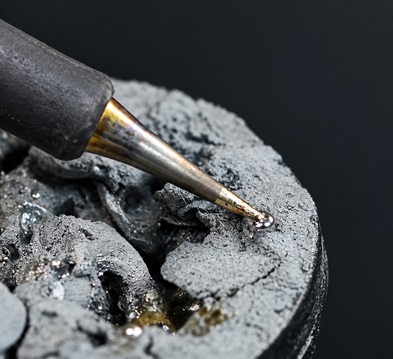
Keep the tip tinned. Leave a thin layer of solder on the tip before shutting the unit down — this protective coating slows oxidation and extends tip life.
Clean the tip regularly. A brass wire sponge or damp cellulose sponge works well. Avoid scraping the tip with a blade or other sharp metal tool, which can damage the plating.
Watch workplace safety. Soldering produces flux fumes, so keep the work area ventilated, use a fume extractor where possible, and avoid prolonged exposure to soldering smoke. Always rest the iron on a stable, heat-resistant stand when it's not in use.
Why the Circuit Board Soldering Iron Still Matters in Modern PCB Manufacturing
Even though large-scale PCB production today relies heavily on automated SMT placement and reflow soldering, the circuit board soldering iron remains irreplaceable across PCB sample builds, engineering validation, product debugging, PCBA rework, component replacement, and small-batch production. It's especially critical during New Product Introduction (NPI), when engineers need to quickly validate a PCB design and make fast circuit adjustments by hand.
Choosing the Right Iron for You
When choosing a circuit board soldering iron, weigh temperature control precision, heat-up speed, thermal recovery, ESD safety, tip compatibility, and your actual use case. Hobbyists and casual DIYers can generally get by with a solid, basic temperature-controlled soldering station. Professional PCB design engineers, PCBA contract manufacturers, and high-end electronics labs are better served going straight for a professional-grade unit with ultra-precise temperature control, fast thermal response, and comprehensive ESD protection.
A good circuit board soldering iron isn't just another tool on the bench — it's core equipment that underpins product quality, system reliability, and manufacturing efficiency for high-end electronics.