A Trustworthy PCB and Electronic Manufacturing Enterprise! Contact Us


Learning how to solder a PCB circuit board properly is one of the most fundamental skills in electronics assembly — get the technique right, and the result is a stable, durable circuit; get it wrong, and even a well-designed board can fail from a single bad joint. This PCB soldering guide covers the full process: preparation, component insertion, soldering, inspection, and cleaning — useful whether you're hand-building a prototype or setting up a repeatable process for small-batch assembly.
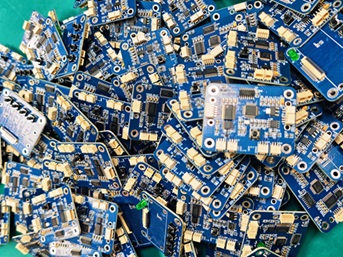
Before You Start
Before you learn how to solder a PCB circuit board, it helps to get the materials and tools sorted first — most soldering problems trace back to a mismatch here, not a lack of skill.
Solder & flux: Sn60/Sn63 tin-lead solder is standard for leaded work; SAC305 (tin-silver-copper) is the go-to lead-free alloy, requiring a higher soldering temperature. Rosin flux suits hand soldering thanks to its good wetting action and low corrosivity; water-soluble flux is more common in wave soldering and needs thorough post-solder cleaning, since any residue left behind can attract moisture over time.
Tools: A temperature-controlled iron set to 280–350°C (tin-lead) or 320–380°C (lead-free), plus flush cutters, tweezers, a multimeter, an anti-static wrist strap and mat, and a magnifier for fine-pitch leads. Always tin the tip before use so it transfers heat evenly and doesn't build up oxide. This PCB soldering guide applies to hand assembly, but for volume work, wave soldering and reflow equipment deliver far more consistency than hand assembly ever can.
Pre-checks: Verify components against the BOM, checking PCB revision, component values, and quantities. Inspect leads for oxidation, bending, or corrosion, and wipe the board clean with a lint-free cloth and a small amount of alcohol, letting it fully evaporate before you begin. Put on a grounded anti-static wrist strap and confirm the iron itself is properly grounded before starting.
Soldering Order Matters
Install components low-to-high, small-to-large: resistors → capacitors → diodes → transistors → ICs → high-power devices, transformers, and connectors. This keeps taller parts from blocking your view or bending the board.
The Hand-Soldering Five-Step Technique
Match components to the silkscreen carefully — polarity errors (diode band, capacitor +/−, IC notch) are a common failure point. Then, for each joint:
1. Preheat the pad and lead together for 2–3 seconds.
2. Feed solder from the opposite side until it fully covers the pad and wraps the lead.
3. Withdraw the solder wire once enough has flowed.
4. Withdraw the iron at a 45° angle after a brief pause.
5. Let it cool naturally — don't blow on it or move the part.
Too much heat lifts pads and damages components; too little produces a dull, grainy joint — a classic cold solder joint that causes hard-to-trace intermittent connections. A good joint is bright, full, and free of spikes or voids.
Inspect and Clean
Trim excess leads with flush cutters without pulling on the joint. Check visually (and with a magnifier or multimeter on dense IC pins) for missed joints, bridges, spikes, or reversed polarity. Then clean thoroughly with ethanol or IPA to remove flux residue, which otherwise attracts moisture and can cause corrosion or leakage over time.
Handling and ESD Protection
Hold boards by the edges only — skin oils and salts degrade solderability and lead to corrosion over time. When working with ESD-sensitive parts (MOSFETs, ICs, LEDs), stay grounded via wrist strap and mat throughout, and never force a component off during rework — reheat, remove, clean the pad, and re-tin instead.
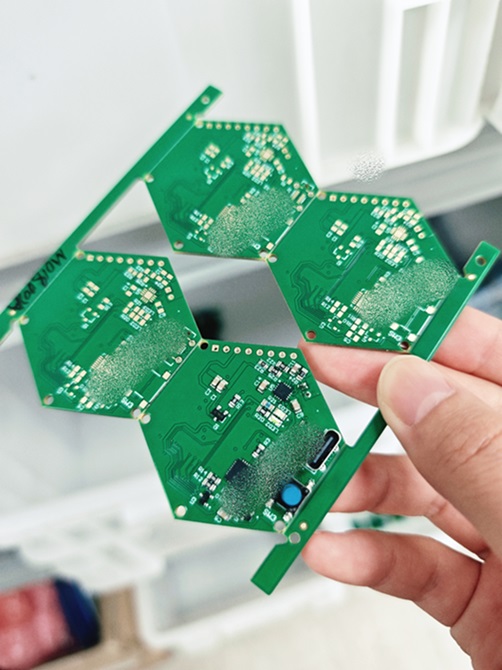
Quick Troubleshooting
1. Dull, grainy joint → insufficient heat/time or leftover oxidation on the lead or pad; clean thoroughly first, then add 1–2 seconds of dwell time and slightly higher heat.
2. Spikes/icicles → oxidized tip, temperature set too high, or slow withdrawal; re-tin the tip, dial back the temperature, and pull away faster at a 45° angle.
3. Solder bridges → too much solder fed at once, or a component mounted too close to the board; control solder volume tightly, then wick away excess with a touch of flux on the tip.
4. Lifted or peeling pads → excessive heat or repeated reheating of the same spot; keep the iron under 350°C, hold each joint under 5 seconds, and preheat gently before any rework.
5. Scorched or blackened components → excessive heat, poor heat dissipation, or leads trimmed too short; tighten control over temperature and dwell time, and use a heatsink clip on high-power parts.
Summary
Verify materials, clean off oxidation, follow the small-to-large install order, keep the iron between 280–350°C, and hold each joint to 3–5 seconds. A good joint is bright and full with no bridging. Ground yourself against ESD, and always handle boards by the edges.
Whether you're building a one-off prototype or refining a process for volume assembly, the fundamentals of how to solder a PCB circuit board don't change — only the scale does. Get the basics right and you'll spend far less time chasing intermittent faults down the road.